Grasshopper components are the building-blocks of Grasshopper definitions.
When a component is initially placed on the Grasshopper canvas, it usually looks something like this:

A component’s color indicates information about its behavior. An orange component indicates that the component needs input before it can perform an action. In the example shown above, the BoxRec component (which constructs a rectangular box) needs input in the form of a rectangular base and a height. A red component has generated an error. A white/gray component is functioning normally.
Many (not all) of the Grasshopper components equate to Rhino modeling commands. A good working familiarity with Rhino is necessary to fully understand Grasshopper components. Several Grasshopper components (such as “number sliders”) do not have Rhino equivalents but are used to control or modify parameters within a definition.
Almost all components have input and output nodes. Input nodes (on the left side of a component) are used to supply the component with input — such as a number, or a list, or a Rhino object. Input can be provided with a wire from another component, or in some cases, by right-clicking on the input node, or on the component itself, to set a value. Output nodes (on the right side of a component) are used to send information to other components.
Panels are a special kind of component, which look like this when initially placed:
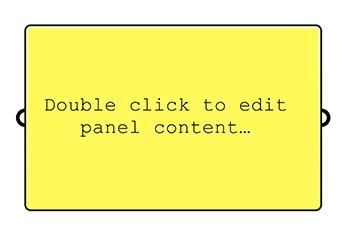
A panel is generally used in one of three ways. First, it can simply be used as an annotation or note on the canvas, with no wires connecting it to anything else. Or, if its contents are appropriately edited, it can be used to supply input (such as a single number) to a component. Finally, if its input node is connected to another component’s output node, it simply displays in textual form whatever information the previous component is generating. In this case, the panel simply acts as a flow-through with no effect on the data displayed.
TO PLACE A COMPONENT ON THE CANVAS:
Do either of the following:
1. Double-click in a blank space on the canvas to bring up a search box. Type a few letters of the component you wish to place, and choose from the resulting menu. (For example, typing BOX will bring up a menu including BoxRec.)
Or:
2. Navigate to the component using the tabs across the top of the Grasshopper window (“Params”, “Maths”, “Sets”, etc.). After locating the component, drag it into the canvas.
TO CONNECT COMPONENTS USING WIRES:
Use the mouse to drag from a node on one component to a node on another component.
Note that some (not all) components allow multiple wires. Hold down [shift] to enable multiple connections from a single node.
TO DISCONNECT A WIRE:
Right-click the component near the node you wish to disconnect. Choose Disconnect from the dropdown menu.
TO MOVE A COMPONENT OR A GROUP OF COMPONENTS:
Select components singly or in a group by dragging a window around them. Move them by dragging them, once selected. Connecting wires will stay connected during moves.
TO PREVIEW THE EFFECT OF A COMPONENT IN RHINO:
By default, the effect (if any) of a component is previewed in the Rhino modeling environment using the color red. To disable the Rhino preview of a component or a group of components, select the component(s), click the space bar, and click on the “masked head” icon. To re-enable preview, repeat this action, except click on the “unmasked head” icon.
