This workflow is intended for the situation in which you have created a massing model in SketchUp and wish to use the model as a guide for the construction of detailed Revit geometry. For the purposes of this tutorial, a massing model is understood to mean a model without interior volumes (corresponding to rooms) and without openings (corresponding to windows and doors).
1. Create a massing model in SketchUp.
2. Save the SketchUp model in .skp format. IMPORTANT: When saving from SketchUp, make sure to use SketchUp Version 8 to ensure compatibility with Revit.

3. Start a new Revit project, or open an existing project in which you wish to place the massing model.
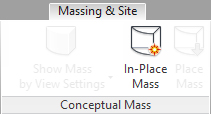
4. On the Massing & Site tab, Conceptual Mass panel, click the In-Place Mass tool.
5. If the “Show Mass Enabled” dialog box appears, click Close. (This box appears to notify you that Revit has automatically enabled the display of mass elements.)

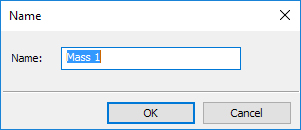
6. Give the mass a name and click OK.
7. On the Insert tab, Import panel, click the Import CAD tool.

8. In the Import CAD Formats dialog box, navigate to your SketchUp file. Accept the default settings, and click Open.
9. Check the default 3D view of your imported massing model.

10. Check the overall dimensions of the imported massing model to verify correct scaling. (If the model has imported at the incorrect size, it may be necessary to return to SketchUp to correct the model size and then repeat the importing procedure. Alternatively, it may be necessary to check the settings in Revit’s Import CAD Formats dialog box. Make sure that the Import units are at the default setting of “Auto-Detect.”)
11. On the Insert tab, In-Place Editor panel, click Finish Mass to complete the importing process.

12. The massing model is now available in the Revit drawing window for further development.
