This workflow demonstrates the possibility of importing mass models from Rhino into Revit for use as Mass Elements. In turn, Revit Masses can be used as the basis for constructing building elements such as floors and walls.
1. In Rhino, create a simple box with plan dimensions 30’ x 30’ and height 100’.

2. Type TWIST [enter]. Follow the prompts to twist the tower.
3. Select the twisted tower by clicking on it. Choose File > Export Selected and export the tower as an ACIS SAT file (.sat extension).

4. In Revit, start a new Project based on the Architectural template, or open an existing Project.
5. Start a new Family based on the Conceptual Mass template.

6. On the Insert tab, Import panel, choose Import CAD and navigate to your .sat file. (Make sure that Files of type is set to show .sat files.) Click Open.

7. On the Insert tab, Family Editor panel, choose Load into Project.
8. Click to place the mass.
9. View the mass in the default 3D view to verify its configuration and size.

10. Switch to an Elevation view. Add Levels corresponding to building floors.
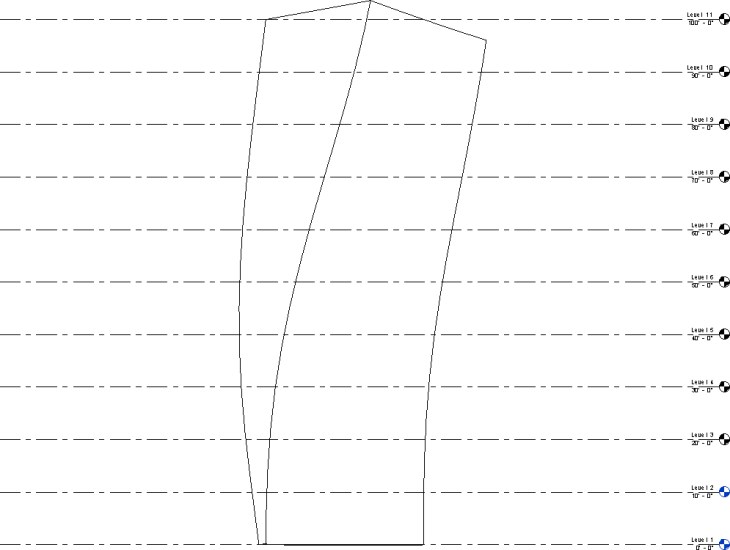
11. Click the mass to select it. On the Modify|Mass tab, Model panel, click Mass Floors.

12. Select the Levels for which you wish to create Mass Floors. (Note: depending on the geometry of your tower, the upper and lower Levels may not reliably create Mass Floors.)

13. Proceed to use the tools under Massing & Site > Model by Face to create walls and floors.
